
This was my finished stencil cut out.
First I had to draw put my design again onto A3 paper because A4 was to small for my design to be easy to cut out. Then I had to use a scalpel to cute out the shape I had drawn. For the smaller detail like the eyes and nose I had to use a double balked scalpel, this meant I could cut two lines at time also these lines were very thin so easier to add in detail with.
When cutting out my stencil I chose not to cut out the eye lashes because, i took to much detail and time to do this. I also didn't cut out the writing and edited the writing in when I edited my photo in photoshop.

This was the final black and white stencil I made. To do this I got my stencil on a white piece of paper and use back paint and a sponge to go over the stencil.
Also I made different back ground to put my stencil onto, I used power paint make some of my backgrounds. This meant I had different colour backgrounds to make the picture more interesting. I also had a plain black piece of paper as background, so I used with paint to print the stencil out on it. However the stencil went more of a grey colour because the white paint mixed with the black paint because I couldn't wash my stencil. I made five different prints altogether.

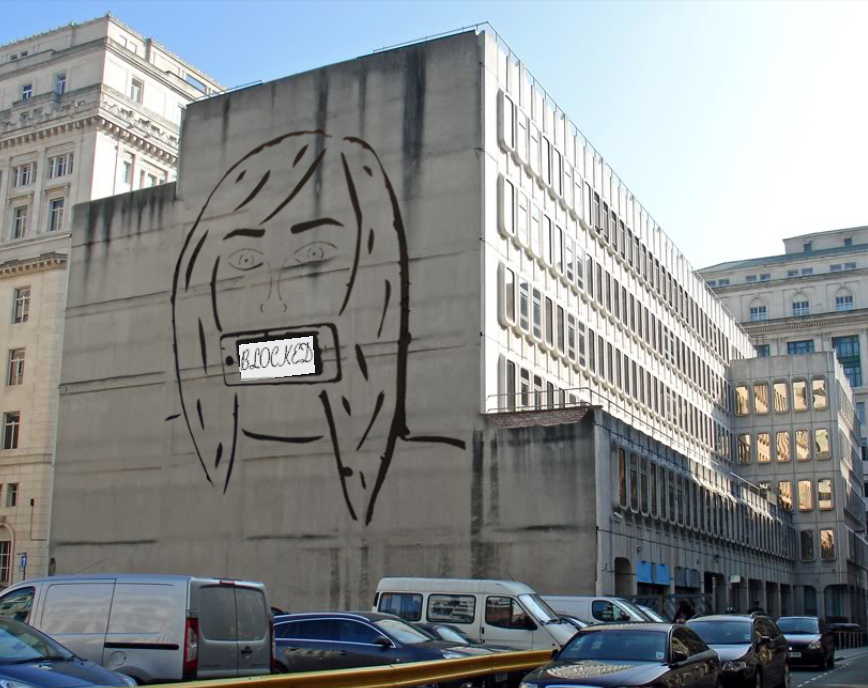 Once I had finished all of my stencils, I used the back and white image and put that into photo shop so I could edit it. First I had to find a good image of a real life wall that I could put my stencil onto. I used the magic wand tool to select the parts of my stencil and then dragged it onto the image of the wall. I then had to change the size and perspective of the stencil image so it looked more life like. Once the perspective had been changed I had to add the writing into my image. I added the text in white but I had to change the colour to more of a grey colour. I also had to change the font of the writing and the angle of the of text so it looked a little more like a real image.

No comments:
Post a Comment